This is the first of what’s going to become a series on preserving food.

I do a fair amount of canning and freezing. Although I’m no Barbara Kingsolver, and some years I do decidedly more than others, canning is one of the ways that I help to keep our grocery bills under budget while eating as locally and seasonally (year-round) as possible. Preserving food is much less daunting than one might think, and I’d love to encourage others to give it a try. I’ll be posting some of my favorite canning recipes, but first I want to provide an overview of how and why canning works, how to can foods safely, and what tools are necessary. This post will cover those basics with regards to boiling water canning, which is how I currently process jars.
What is canning?
Canning is a process which removes oxygen; destroys enzymes; prevents the growth of undesirable bacteria, yeasts, and molds; and helps form a high vacuum in jars to form tight seals which keep liquid in and air and microorganisms out. There are two types of canning, water bath canning which utilizes boiling water and pressure canning which utilizes high pressures to accomplish the above. Pressure canning requires the use of a special pressure canner (I.e. more equipment), where as boiling water canning can be done with more everyday household tools.
Ensuring Safe Canned Foods
 Growth of the bacterium Clostridium botulinum in canned food may cause botulism—a deadly form of food poisoning–so it is important to follow recipes exactly while canning, paying special attention to food acidity, temperatures, and processing times. Whether food should be processed in a pressure canner or boiling-water canner to control botulinum bacteria depends on the acidity of the food. Acidity may be natural, as in most fruits, or added, as in pickled food. The official word on food acidity, from the National Center for Home Food Preservation, is:
Low-acid foods have pH values higher than 4.6. They include red meats, seafood, poultry, milk, and all fresh vegetables except for most tomatoes. Most mixtures of low-acid and acid foods also have pH values above 4.6 unless their recipes include enough lemon juice, citric acid, or vinegar to make them acid foods. Acid foods have a pH of 4.6 or lower. They include fruits, pickles, sauerkraut, jams, jellies, marmalades, and fruit butters.
Although tomatoes usually are considered an acid food, some are now known to have pH values slightly above 4.6. Figs also have pH values slightly above 4.6. Therefore, if they are to be canned as acid foods, these products must be acidified to a pH of 4.6 or lower with lemon juice or citric acid. Properly acidified tomatoes and figs are acid foods and can be safely processed in a boiling-water canner.
It’s important to note that people processing foods at higher altitudes may need to boil jars longer since water boils at lower temperatures at higher altitudes. If you are unsure, I’d recommend calling your local County Extension Office, they can usually tell you how times should be adjusted for your area. You can find your altitude here.
Ensuring Quality
It goes without saying, what you put in directly effects what you get out. Use only high-quality foods which are at the proper maturity and are free of diseases and bruises. Canning is not the best way to keep almost bad foods around longer; use healthy food harvested at their peak.
 Use the hot-pack method, especially with acid foods to be processed in boiling water. Hot-packing is the practice of heating freshly prepared food to boiling, simmering it 2 to 5 minutes, and promptly filling jars loosely with the boiled food. The juice, water, or syrup added to jars should also be boiling. This practice helps to remove air from food tissues, shrinks food, helps keep the food from floating in the jars, increases vacuum in sealed jars, improves shelf life, and helps to maintain the food’s beautiful color.
Don’t unnecessarily expose prepared foods to air; can them as soon as possible. This means it’s not a good idea to make your jelly one day and process the jars the next. Everything needs to be done in one sitting.
Make sure you have proper headspace. The unfilled space above the food in a jar and below its lid is termed headspace. Directions for canning specify leaving 1/4-inch for jams and jellies, ½-inch for fruits and tomatoes to be processed in boiling water, and from 1- to 1¼-inches in low acid foods to be processed in a pressure canner. This space is needed for expansion of food as jars are processed, and for forming vacuums in cooled jars.
Store sealed jars without metal rings in a cool dry place. Recommended storage temperatures are between 50F and 70F. Eat within one year.
Jars
Regular and wide-mouth Mason-type, threaded, home-canning jars can be found at most grocery and hardware stores. They are available in ½ pint, pint, 1½ pint, quart, and ½ gallon sizes. The standard jar mouth opening is about 2-3/8 inches. Wide-mouth jars have openings of about 3 inches, making them more easily filled and emptied, although I still find it easiest to use a funnel. Mason jars and rings may be reused many times, but the lids can only be used once, as they will not reseal. Replacement lids can be bought wherever jars are sold.
To prepare the jars, wash them (and lids and rings) in hot, soapy water or in a dishwasher.  It looks like there’s no soap here because there isn’t any yet. They’re getting the pre-soak in 140F water, then I used lots of soap, don’t worry!
All jams, jellies, and pickled products processed less than 10 minutes should be filled into sterile empty jars. To sterilize empty jars, boil them for 10 minutes at altitudes of less than 1,000 ft. At higher elevations, boil 1 additional minute for each additional 1,000 ft elevation. Remove and drain hot sterilized jars as you fill them. It is unnecessary to pre-sterilize jars for fruits, tomatoes, and pickled or fermented foods that will be processed 10 minutes or longer in a boiling-water canner (something I just learned while preparing to write this post — to think of all that time wasted pre-boiling jars!).
Boiling Water Canning
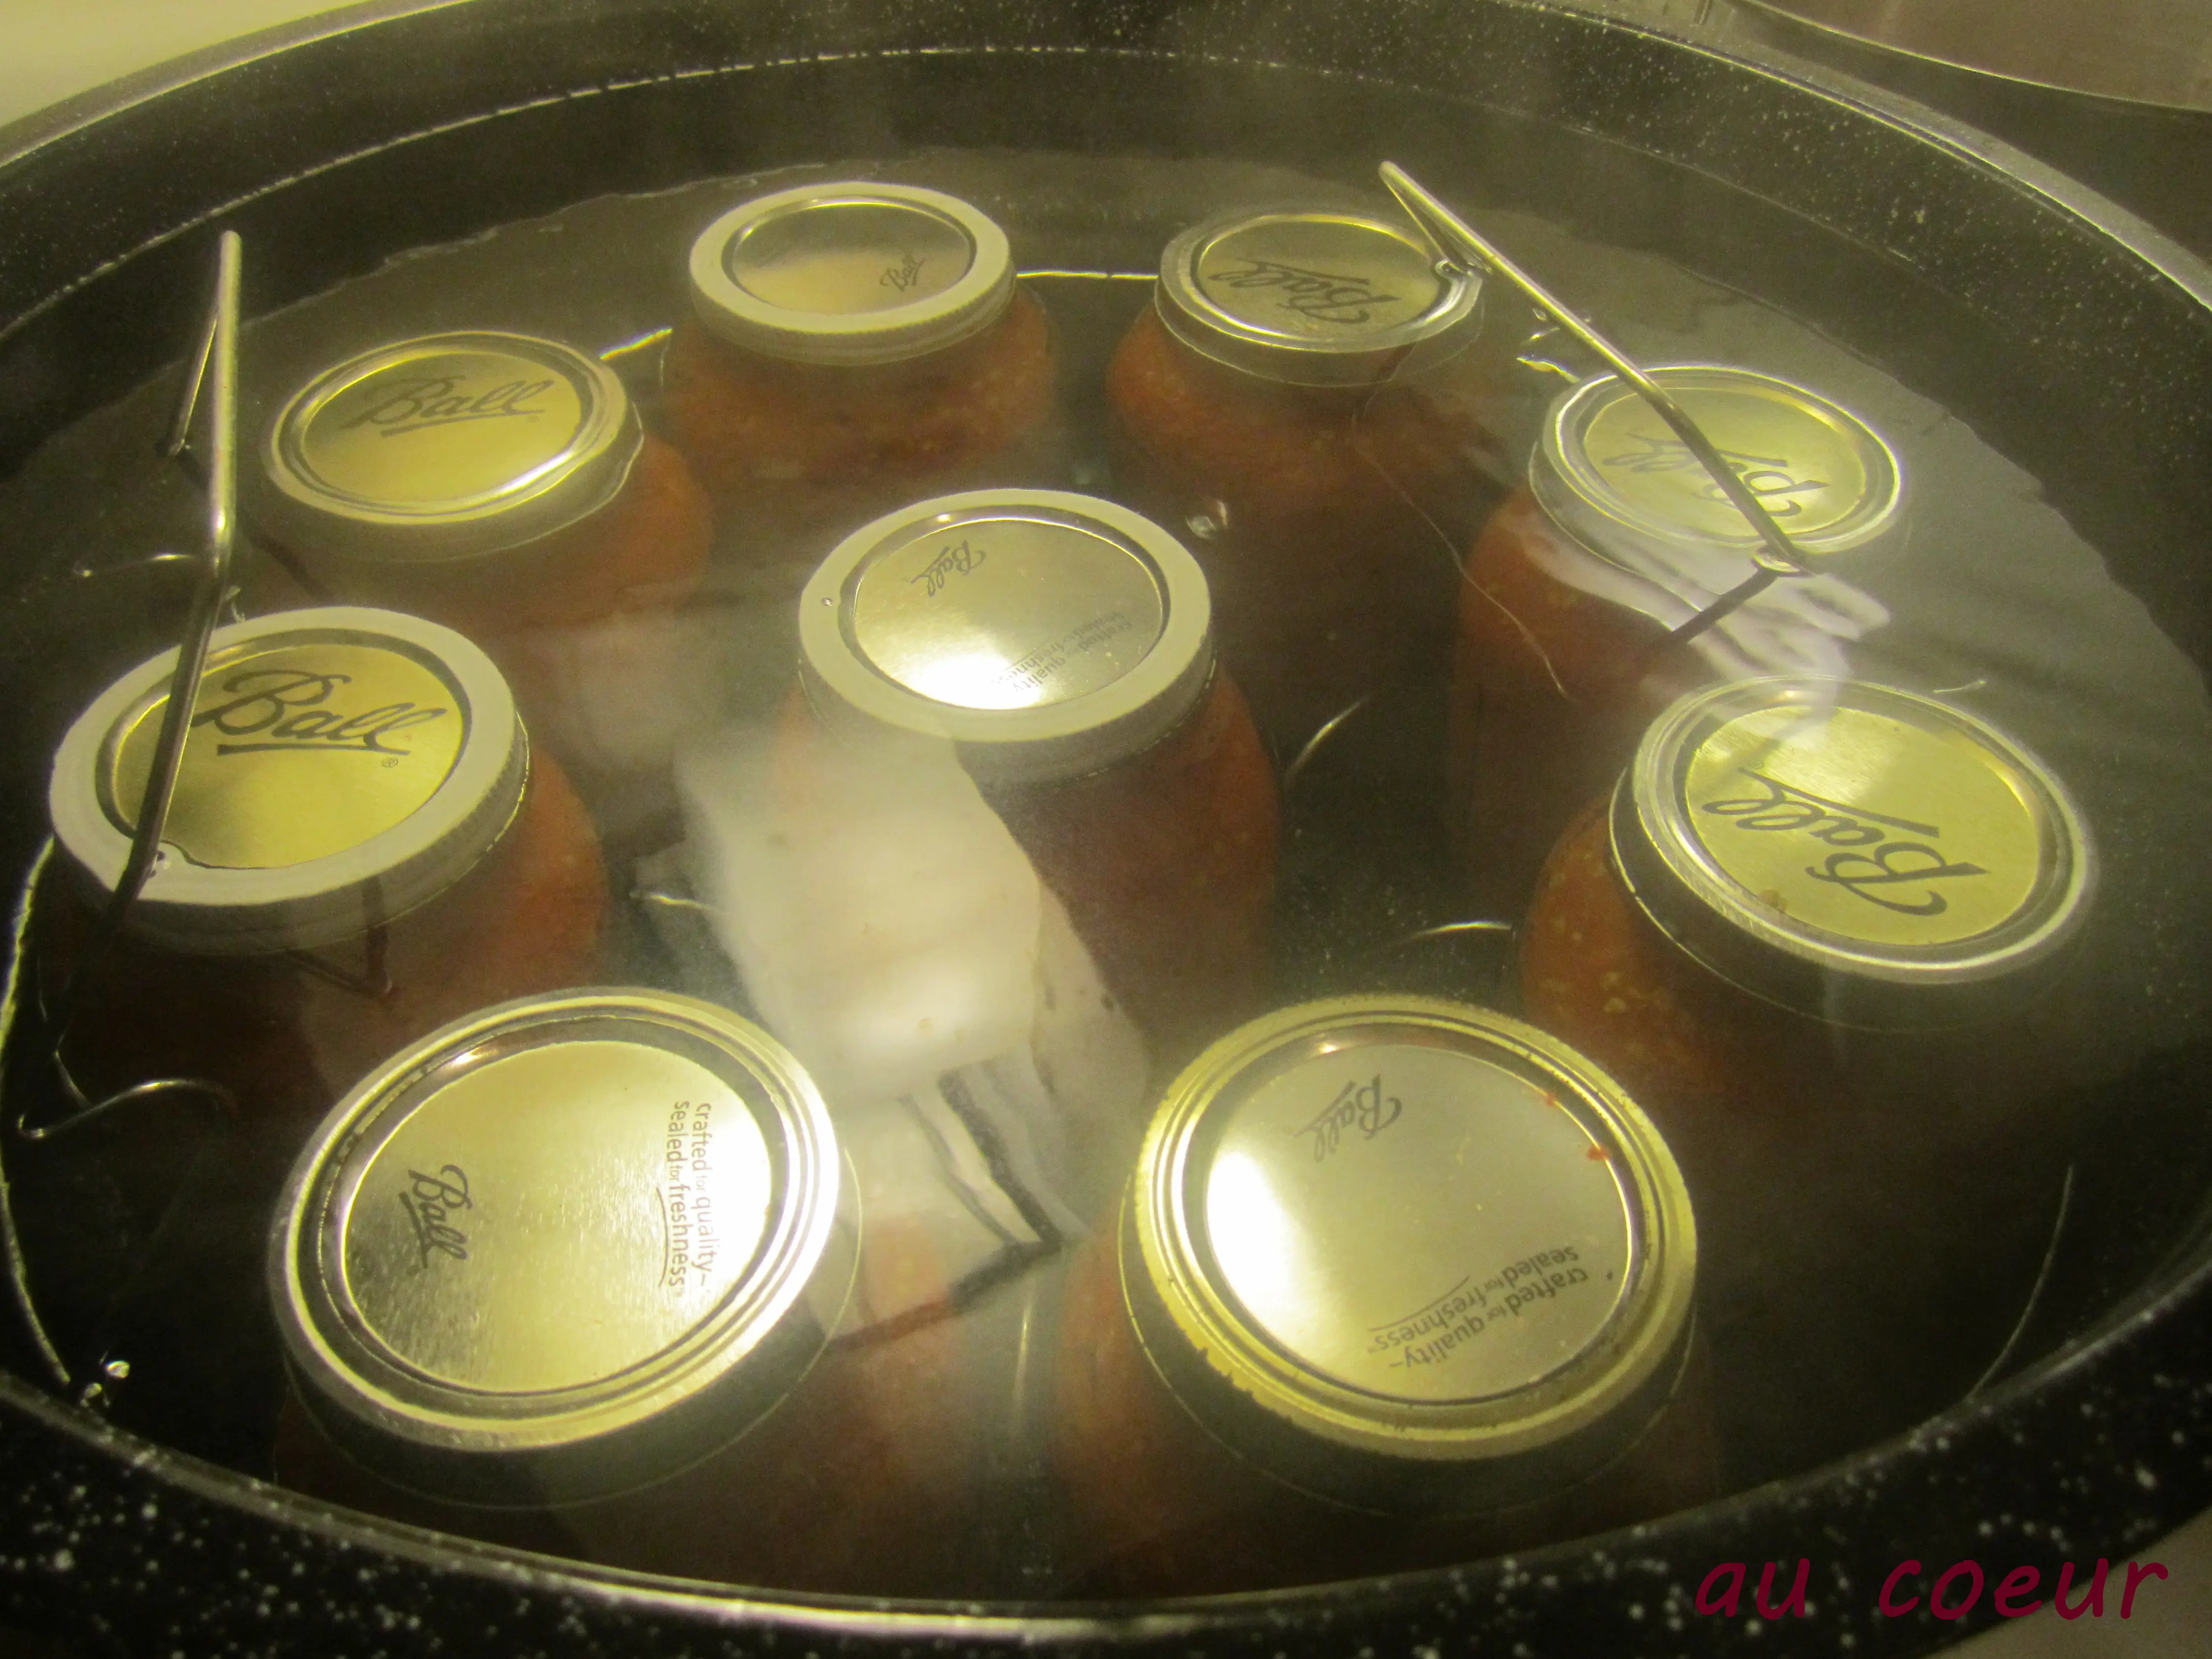
Boiling water canning is the easiest and most cost effective way to start canning — no special equipment necessary! All you need is a large pot big enough to hold your jars, plus enough water to cover the filled jars by at least one inch. You also need a trivet or other metal rack which can be placed in the bottom of the pot to keep the jars from resting directly on the heat source (prevents breakage), and a lid to fit the pot. The first four years I canned, I did it this exact way – in a large pot. I finally decided to buy a canning pot this year and it’s amazing;  the wire rack makes it incredibly easy to get jars in and out, and I can process nine quarts at once, which is a big time saver when doing large batches. If you’re going to can a lot, it’s completely worth the investment (says the cheapskate who waited three years to “splurge” on the $60 pot).
Basic steps
1. Before you start preparing your food, place canner rack (or trivet) in the bottom of the pot and fill with warm water.
2. Preheat water to at least 140F, preparing to bring to a boil. While water is heating, prepare food.
3. Load filled jars, fitted with lids and ring bands, into the canner one at a time, using a jar lifter. When moving jars with a jar lifter, make sure the jar lifter is securely positioned below the neck of the jar (below the ring band of the lid); keep the jar upright at all times as tilting could cause food to spill into the sealing area of the lid.
4. Ensure that there is at least one inch of water above the top of the jars.
5. Turn the heat setting to its highest position, cover the canner with its lid and heat until the water boils vigorously.
6. Once water begins boiling, begin timing the jar processing. Time will depend on type of food and size of jar. Water must stay at a full rolling boil for the entire time; it helps to keep the pot covered.
7. Using a jar lifter, remove the jars one at a time, being careful not to tilt them. Carefully place them directly onto a towel or cooling rack, leaving at least one inch of space between the jars during cooling. Avoid placing the jars on a cold surface.
8. Allow jars to cool for at least 12 to 24 hours without disturbing them. Do not tighten ring bands on the lids or push down on the center of the flat metal lid until the jar is completely cooled.
Other Tools
Let me be the first to say that you can most certainly can only using kitchen tools around the house. I spent two years using a large slotted spoon, tongs, and an oven mit to get jars in and out of the water. It is possible. It is also a giant pain in the neck. Two years ago I finally sprang for this canning kit: It cost me less than $10 and has made my life infinately easier. As with the canning pot, I now don’t know how I ever did without and why $10 was holding me back.
At the very least, you are going to need a ladle to fill the jars. A funnel and jar lifter are very nice to have. The metal band tightener is also good because the jars can get very hot when hot liquids are poured in; I usually use this to hold the jar while I’m tightening the bands by hand. The lid lifter is lower on the must-buy list. I often use tongs or a slotted spoon to fish them out of the pots instead.
——
This post has turned into quite the book, but hopefully it answers any questions you might have about the basic concepts and tools. Please feel free to ask any questions in the comments below. Next week I’ll share the recipe/directions for canning tomatoes and strawberry jam. Yum!
Information and images from the “Complete Guide to Home Canning,” Agriculture Information Bulletin No. 539, USDA (Revised 2009). Another good resource is the National Center for Home Food Preservation.
Leave a Reply